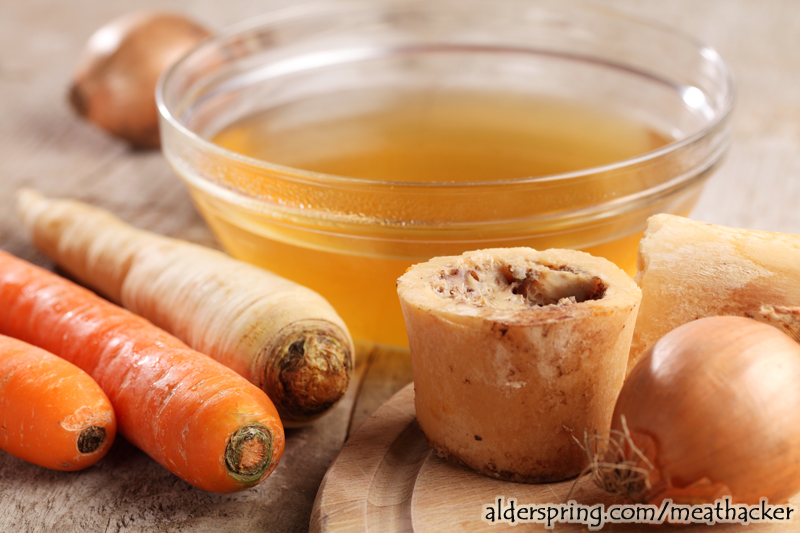
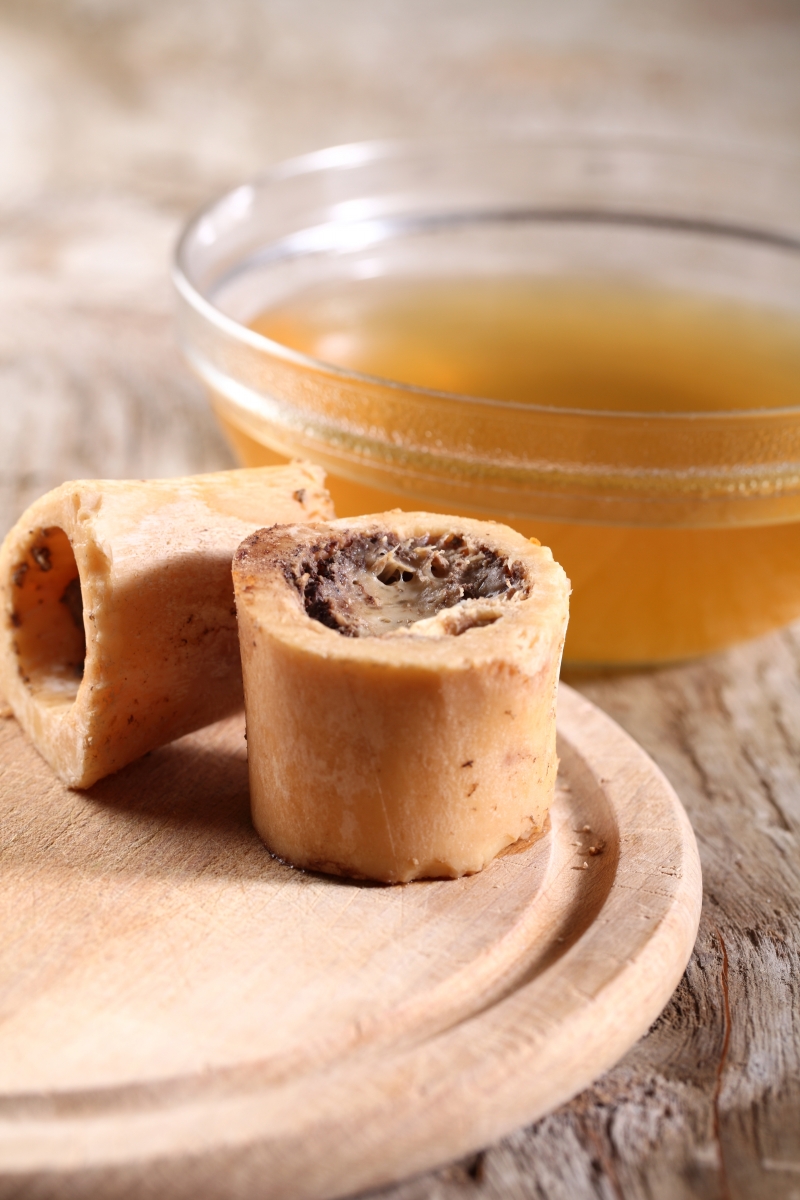
This recipe using organic beef bones is the recipe that Glenn used for weeks while healing his gut several years ago. He restored functionality within about 3 weeks and at that time began slowly reintroducing foods back into his diet. He has recommended the same broth recipe for several people with severe GI disturbances with fairly consistent results. You’ll need a big stockpot. We use ours at least twice a week; it’s worth investing in a large, copper bottom, stainless steel stock pot. You may be able to purchase one at a restaurant supply store for less than at retail stores.
(Gluten Free, Grain Free, Paleo, AIP, GAPS, Dairy Free, Egg Free, Nut Free, Soy Free, Refined Sugar Free)

How to Make Bone Broth with Organic Beef Bones
This recipe using organic beef bones is the recipe that Glenn used for weeks while healing his gut several years ago. He restored functionality within about 3 weeks and at that time began slowly reintroducing foods back into his diet. He has recommended the same broth recipe for several people with severe GI disturbances with fairly consistent results. You’ll need a big stockpot. We use ours at least twice a week; it’s worth investing in a large, copper bottom, stainless steel stock pot. You may be able to purchase one at a restaurant supply store for less than at retail stores.
(Gluten Free, Grain Free, Paleo, AIP, GAPS, Dairy Free, Egg Free, Nut Free, Soy Free, Refined Sugar Free)
- 5 lbs of Alderspring Grassfed Organic knuckle and marrow bones (cut into 2-3 inch lengths.)
- 2 large onions
- 4 whole cloves of garlic-or up to an entire bulb if you love garlic.
- 2 tablespoons sea salt
- Basil – up to ¼ cup dried
- Bay leaves – 4 or 5
- Rosemary – up to ¼ cup dried
- 2 tablespoons apple cider vinegar
- 2 tablespoons extra virgin olive oil (get the real stuff—remember, most extra virgin oils from overseas are adulterated with canola or soy!)
- Turn oven up to 375 degrees F.
- Place bones spread out on oven pan. Brown in the oven. Turn over and brown the other side. This mellows the flavor and improves the flavor and aroma of the broth. Neophytes just drop those bones in a pot of boiling water. They soon find out that that brothy smell coming off the stovetop becomes sickening after 5 hours or so. This browning step, along with the onions, garlic and seasonings changes the boney, gutsy aromas to savory. Remember…you want to ensure that you and everyone else in your family will enjoy the broth…even after 8 hours of cooking (and smelling!).
- Place your stockpot on the stovetop, and if it is a heavy bottom pot, sautee’ the onions and garlic until just carmelized (if the olive oil is an issue for you, this step can be skipped and you can add the onions and garlic raw).
- Drop the bones in. Add 2 gallons water and seasonings. The bones should be completely covered. Bring to boil. Cover. Now start simmering. The longer the better. We have gone for 24 hours at a low simmer. Remember, though, you MUST add water several times over the long simmer period to keep bones covered. You’ll also want to skim off the impurities that rise to the top of the water. These will look like foamy scuzzies floating around on top and you can remove them with a slotted spoon. They’ll start showing up after about 45 minutes of simmering.
- Pour the broth through a colander and discard bones and veggies. Decant into mason jars. Place lids on; let cool, and refrigerate for no more than 3 days. If you have more than you can consume in 3 days, you can freeze the broth (don’t fill the jars all the way if you plan to freeze them). You can also put the strained broth back in the pot and continue simmering to reduce water. You will have a product that is jelly like under refrigeration, but much more concentrated in flavor.
Serving:
- Glenn just heated up broth and spooned it like soup or sipped it from a mug. He lived on that for a few weeks, and actually did OK working on the ranch while his gut was healing up! He was livin’ the dream as he couldn’t process anything else in his guts at that time…and you could be too!


 Marinade for Flank Steak with Veggie Packets
Love your articles, so infiormative.
I feel as if Im right there with you all❣️❣️
Keep up the good work❣️❣️
Hi Caryll! Thank you for the tip on browning the bones first. I always brown my meats before putting them in the crockpot, but didn’t think about that for the bones for my bone broth. I love bone broth~ It’s so good and good for you! Thank you for all the cool recipes and your tips.
I’ve been buying my beef from you for well over 10 years now. Love everything. Wish I were living the life on the ranch like you. Used to have 88 acres of alfalfa hay and brood mare ranch in Bend, Oregon 1980.
Hi Michele, glad the bone broth idea works for you! We find it adds a lot of flavor to the finished broth. Thanks so much for being a loyal partner for so long. And yes, once you’ve lived the ranch life it’s hard to ever do anything else!
Thanks for the recipe and article. I basically make stock in the way you suggested except I use a mirepoix and don’t cook the vegetables for the most part. If I do, I usually roast them in the oven with the bones.
I love the idea of the basil and rosemary. Will definitely have to try it next time. Such yummy flavors.
You guys are the best and I appreciate all the hard work and love you put into your livelihood. I know that I definitely benefit from such high quality products. I never have to worry about what I get from you.
Thank you for nourishing my family and myself. My daughter moved to another state and she now orders from you. Gladly, a family tradition.
You guys are the best. Thank you.
Hi, I just ordered some bones for bone broth. Using all 5 lbs at once was too much; I don’t have a lot of freezer space nor do I have a pot large enough. I thawed the bones, cooked 2.5 lbs and put the rest in the refrigerator to cook later. How long can they stay in the refrigerator once they are thawed?
I loved the blog on the benefits of bone broth, very informative!
Hi, I’d like to try this but how long do you brown the bones for?
Usually about 15-20 minutes, just until they become a nice light brown. You can also pan-fry them in a little butter to brown!
My pot is too small to accommodate both bones & 2 gallons water, so instead I just covered the bones with as much water as I could (3 quarts), with the intention of freezing the broth and adding a proportionate amount of the missing water later as I use the broth. Is there any downside to doing it this way?